It is always a sad moment when the pool season ends, meaning no more watery fun until the spring. To get your pool ready as quickly as possible in the spring and reduce the possibility of damage, you need to close (winterize) your pool properly.
Ensuring the pool is as clean as possible is the best start to closing your pool for the season. Then, add winterizing chemicals, lower the water level, blow out the pool lines and cover the pool. It isn’t as difficult as it may sound.
So, without any further delay, let’s begin describing how to close the inground pool for winter!
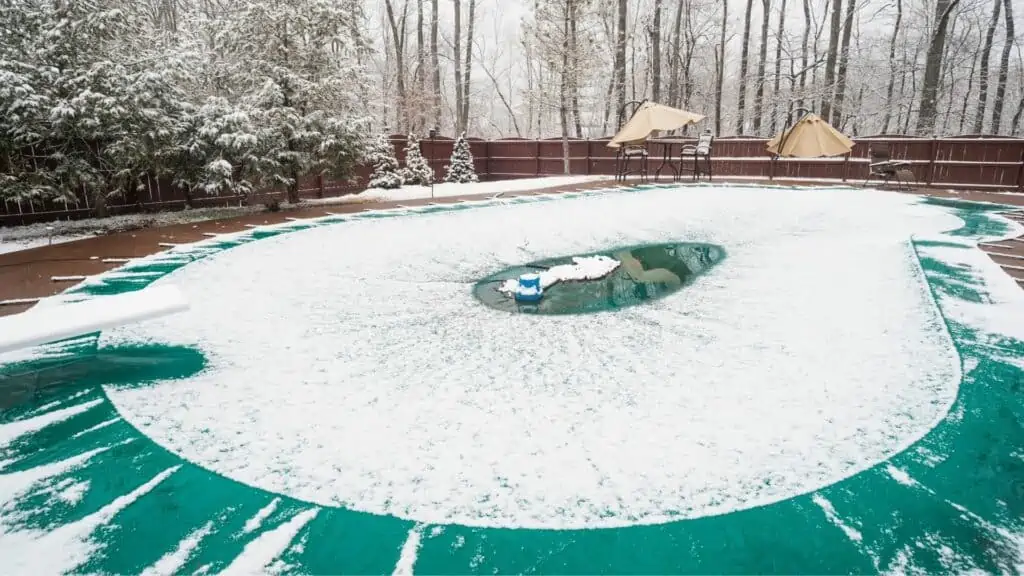

Pool Winterization Video Course
Using Swim University’s step-by-step video course, you can close and winterize your pool yourself, saving over $300 a year. The course covers closing both inground and aboveground pools.

Listen to our Pool Winterization Podcast to find out more:
Should you close a pool for the winter?
If you live in an area with mild winters, you may not need to do much to your pool for the winter. For example, I now live where winter temperatures never drop below 50ºF, so I do very little except keep an eye on the chemicals and clean my pool less frequently.
But if the temperature where you live is likely to dip below freezing for any time during the winter, then closing the pool is essential.
All the inground pool owners out there know the drill regarding chemicals, algae growth, and more. Suppose you leave your pool unattended or close your inground pool sloppy. If you don’t take all the necessary measures to keep your swimming pool fresh, you can be assured of being greeted with pretty nasty green pool water at the start of the next pool season.
Apart from the obvious gross condition of your pool water that makes it unfit for the swim season, the unbalanced water chemistry due to the lack of chemicals, dirt, and more will also affect the circulation system of your inground pool, especially the skimmer line.
Winterizing your inground pool will save you time and money when you pull off the covers for the pool season. Also, removing the water from the pool through the pool pump helps ensure that no extra damage is done when the water freezes.
You can even use a winter cover to prevent accidents. The chemicals you add to balance the water chemistry further help your pool maintenance.
When should you winterize a pool?
This is hands down the most vital factor to consider, as it will greatly affect closing the inground pool for winter, which varies depending on the weather in your area.
Typically, if the temperature of your area stays below 65°F (18°C) during the offseason, it is better to wait until the temperature falls below that point to close your pool. The low temperature will help ensure a clean pool, as algae don’t like cold weather, allowing your pool to have low algae growth.
Leaving your pool open during this period will also make closing it easy, as it will be easier to clean, test, and balance the water.
However, if your winter feels like a warm July day with a temperature above 18°C, you don’t need to do the whole ritualistic cleaning and balancing of the inground pool. All you need to do is keep your pool pump hooked up and run it daily throughout winter (as I do).
Also, you must keep up with your pool maintenance until the pool season, although you generally will not need to do this as often as during the swimming season. Just ensure you test the water quality weekly and adjust with chemicals as necessary.
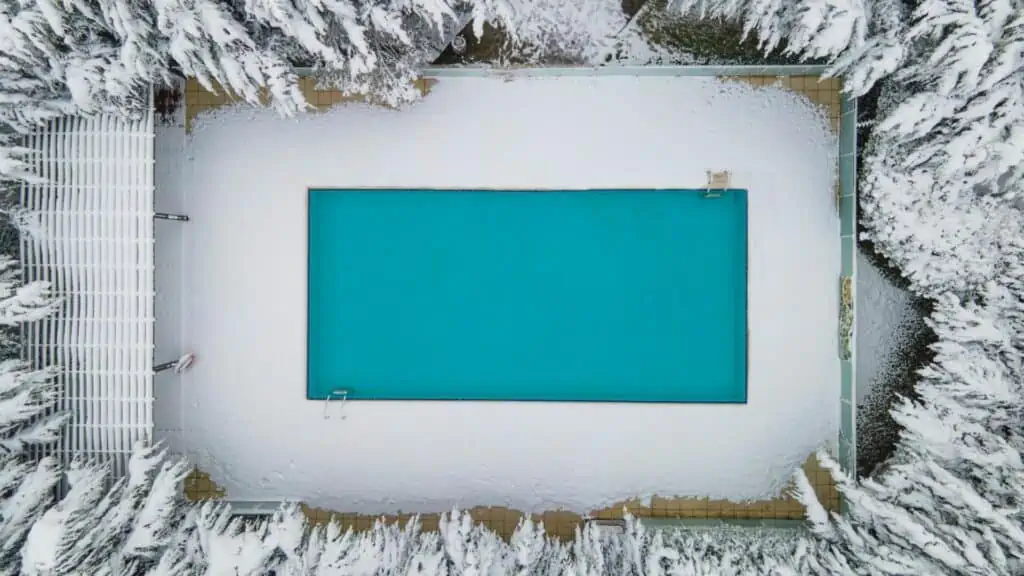
Pool closing equipment you will need
There are some necessary items of pool equipment and chemicals that you might need to close your pool.
Here is a list of equipment and chemicals that you may need to close your pool and for pool maintenance during the off-season:
| Winterizing Chemicals | Equipment |
| Chlorine Winter Pill pH increaser pH decreaser Sanitization product Cyanuric acid Pool antifreeze Pool Enzymes Alkalinity increaser Calcium hardness increaser Algaecide | Off-season solid pool cover Pool brush Pool vacuum or Automatic cleaner Skimmer drain plugs Pool cover Shop-vac or air compressor Tools for removing pool accessories- eg: ladders Winter pool cover pump Winter pool plugs for return jets Pool test strips Metal sequestrant |
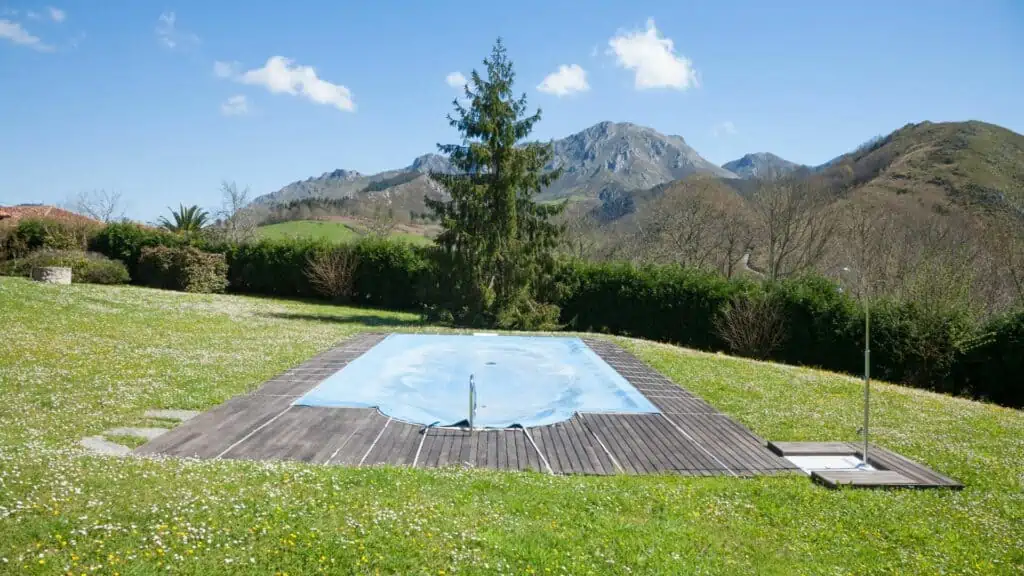
Pool closing tip
Although closing your pool is not rocket science, as you will see in the step-by-step guide below, many people are very nervous about doing it themselves. So, if you are still not confident enough to do it yourself, you can pay a pool company to do it for you, but make sure you are at home when they do it.
Follow them around and watch precisely what they do, making notes or even videoing, so you will know enough to do it yourself next year.
Instead, you could check out the course below for much less than the cost of a company closing the pool.
9 steps: How to close a pool for winter
Now that you are all geared up, it is time to do the real work. We won’t pretend that closing your inground pool is a cakewalk, but if you want a clean pool in spring rather than a swamp, you need to make it as clean as possible.
But what do you need to do to close your in-ground pool?
To help you out, I have compiled this handy guide that will walk you through all the steps you need to take so that you close the in-ground pools efficiently.
Step 1: Get ready to do some serious cleaning
You must start cleaning the pool before balancing the water chemistry and doing all the complicated steps. First, scrub the pool walls and get into all the corners and cracks to eliminate all the accumulated dirt. Then, thoroughly vacuum the pool to clean any residue on the bottom.
Use a brush to thoroughly scrub any algae growth or cracks that could be a place for algae to hide and grow. The cleaner the pool is before closing it, the better it will be when you open it in the spring.
Doing this also helps prepare your pool for all the winter pool chemicals you will add later in the process.
Step 2: Put your pool water to the test
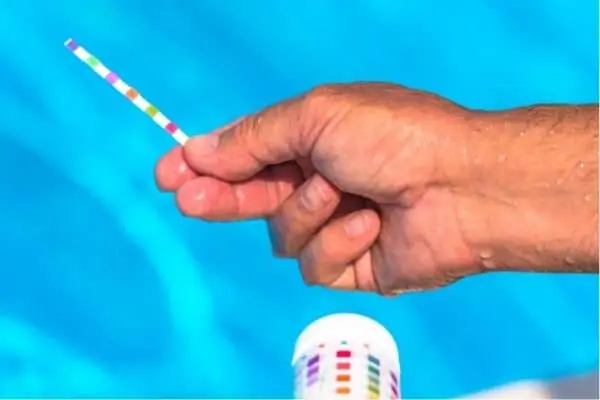
You might be tempted to skip this step because you are closing the pool. Do you need to test the water, especially when adding more pool chemicals afterward? The simple answer to that is yes. You need to test the water chemistry of your above-ground pool with a pool test kit, or you can even go to the local water authority for more precise readings.
Either way, you have to note that the chemical concentrations, such as pH and alkalinity level, are balanced so that the water of your inground pool does not become musky or cloudy while it’s closed.
When you test the condition of the pool’s water, you must further check that the chlorine level is no more than 5 PPM. Excess chlorine concentration can replace the other chemical additives you might add to the pool’s water.
Step 3: Add winterize pool chemicals
After you balance the chemicals, add some winterizing pool chemicals that will prevent your pool from turning into a mess of algae, dirt, leaves, etc., over the winter months.
Furthermore, various winterizing chemicals are available, but to determine the chemicals your pool requires, it is recommended that you inspect your inground pool thoroughly to spot all the problems that need fixing.
If there are signs of algae growth in your inground pool or any mesh panel that allows dirt, insects, or vegetation to enter, you should add algaecide. If your pool is prone to algae, you can double-dose this chemical.
However, you must be careful with the amount of this chemical you use in your pool. It contains copper, which increases the metal element concentration in pool water.
To prevent elevated metal content in the pool water, you can use a metal sequestrant. This saves the pool from awful metal stains and helps stop the metal from settling and oxidizing, giving you a clean swimming pool.
It is essential to use algaecide properly, as it is not the only metal source; your in-ground pool’s water can also get these from its water source or another cleansing substance.
You can even add pool enzymes to help the algaecide disintegrate your pool’s organic contaminants. Also, to keep your pool clean and balanced throughout the winter, you can use Winterpills, a combination of chlorine and a clarifier that you can add before closing the pool.
Even after taking all the necessary precautions, one problem you can face is the freezing of pipes, which is common if you live in a place with frigid winters. But worry not—we have you covered. Swimming pool antifreeze will ensure that the pipes or the water are not frozen, as this can lead to accidents, too.
Pool winterizing chemical kit
You can buy a complete chemicals kit such as the Pool Winterizing and Closing Chemical Kit
Or you can buy what is known as a winter pill, such as the SeaKlear AquaPill AP71 WinterPill
Step 4: Shock your pool
Before closing and covering the pool for the winter, you should add some shock to your pool, which helps to make it balanced and ready to be closed for the off-season.
If using liquid pool shock, you can pour it into the pool and let the circulation system mix it around.
If you are using granular shock, you should mix it in a bucket of pool water first. Do not add it straight to the pool.
It may be best to do this and leave the pump running overnight before proceeding to the next stop to lower the water level.
Step 5: Just one more round of cleaning
The last thing you want is to uncover your pool in the spring and find the pool filters full of debris. So, the best way to avoid that is to ensure the pool is as clean as possible before closing it.
Once you have vacuumed the pool, make sure that you properly backwash the filter system (if it is a sand filter or a DE filter) so that it is as clean as possible. If you are unsure how to do this, read How to backwash a sand filter.
If you have cartridge filters, remove, clean and replace the cartridge, and you are good to go. See How to clean pool cartridge filters if you are unsure how to do this.
Step 6: Lower the pool’s water level
The primary purpose of this is to prevent damage to the pool plumbing caused by freezing water or snow.
You can lower the water level below the skimmer opening using the pool pump, drawing water from the main drain only, with the multiport valve on the waste setting or by using a submersible pump.
Step 7. Prepare the filter and pump
Remove all drain plugs on the pool pump and filter housing and allow the water to run out. Then, put the drain plugs in a safe place so you don’t lose them in the spring.
Set the multiport valve lever to the winter setting if it has one.
Step 8: Drain the heater (if you have one)
If you have a pool heater, you must locate all the drain plugs and allow all the water to drain. Then, replace the plugs or close the valve.
Step 9: Blow out the pool lines
This step is essential, especially if you live in a cold part of the country. Blowing out the return lines requires you to remove/drain water from the lines and the pump, which prevents frost damage to the pool equipment or skimmer.
You will need an air compressor, air blower or shop vac to push air through the system and expel all the water in the lines.
You will need to uncouple the return line and insert the blower. This is then run until no more water comes from the return jet. Then it would be best if you plugged the return jets using suitable drain plugs.
Then you uncouple the input line, blow out the lines and do the same until no more water comes out of the skimmer/s, which also needs to be plugged.
After that, pour pool antifreeze into the lines before reconnecting them.
Step 10: Remove pool accessories
You are almost done closing out the pool for the winter. All you need to do is remove all pool accessories before you cover the inground pool completely. This prevents them from being damaged and lets you clean the pool equipment before the spring.
Before closing the pool, remove its other pool equipment, including automatic cleaners, skimmer baskets, ladders, etc. This is also a great time to remove your saltwater chlorine generator if you have a saltwater pool.
Step 11: Swimming pool cover up
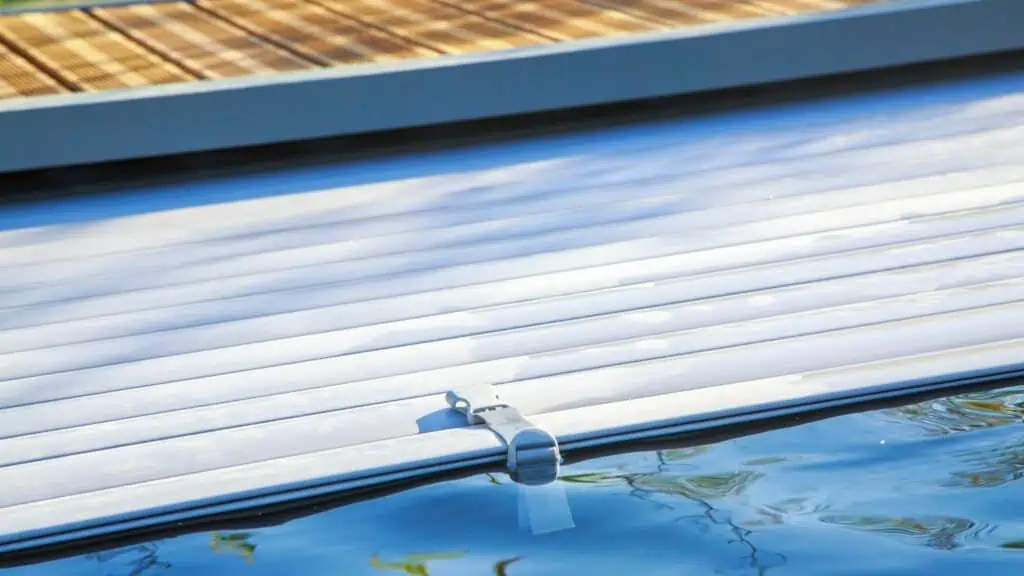
You are nearly finished; it is time to remove your winter cover to cover your pool and leave it until the start of the pool season. This will protect your pool from snow, dirt, leaves, insects, and more.
You can also choose from an automatic pool cover, a removable winter cover, a solid cover or a mesh safety cover. You must choose the best option, as the winter pool cover keeps contamination away and the water chemistry is well balanced.
Personally, I wouldn’t choose a mesh cover as when it rains, the pool will become full again.
Follow ups
Once your pool is closed, you may want to consider buying an inflatable hot tub so you can continue your soaking fun until next spring.
Now that you know how to close an inground pool for the winter, you will also need to know how to open your pool in the spring. Fortunately, opening it is generally easier than closing it.
If you have an above ground pool this is how to winterize it.
Closing a Pool FAQs
Why is it important to winterize my inground pool?
Winterizing your inground pool protects it from damage caused by freezing temperatures, such as cracked pipes, damaged equipment, and structural issues. Proper closure also helps maintain water quality, making it easier and more cost-effective to reopen the pool in the spring.
When is the best time to close my inground pool for winter?
The ideal time to close your pool is when the water temperature consistently falls below 60°F (16°C). Algae and bacteria growth slow down in cooler temperatures, reducing the risk of contamination after closing.
What chemicals should I add before closing my pool?
You should:
Balance the Water Chemistry: Adjust pH to 7.2-7.6, alkalinity to 80-120 ppm, and calcium hardness to 200-400 ppm.
Shock the Pool: Add a chlorine shock to eliminate contaminants.
Add Algaecide: Prevents algae growth over the winter months.
Use a Winterizing Chemical Kit (Optional): These kits contain a combination of chemicals designed for pool closure.
How do I lower the water level in my inground pool for winter?
Use your pool’s filter pump or a submersible pump to lower the water level. Reduce it to below the skimmer and return lines—typically about 4-6 inches below the lowest plumbing line—to prevent freezing water from damaging the plumbing.
Should I drain all the water out of my inground pool?
No, you should not drain all the water. Keeping some water in the pool maintains hydrostatic pressure, preventing the pool shell from cracking or popping out of the ground due to groundwater pressure. Complete drainage can also expose the pool surface to damage from weather conditions.
How do I protect my pool plumbing lines during winter?
Blow Out the Lines: Use an air compressor or a specialized blower to remove water from the plumbing lines.
Add Pool Antifreeze: Pour non-toxic pool antifreeze into the lines to prevent any remaining water from freezing.
Seal the Lines: Close off the lines with expansion plugs to keep out water and debris.
Do I need to cover my inground pool during winter?
Yes, covering your pool provides several benefits:
Prevents Debris Accumulation: Keeps leaves, dirt, and animals out.
Reduces Algae Growth: Blocks sunlight that algae need to thrive.
Maintains Water Quality: Minimizes chemical loss and evaporation.
Choose a high-quality winter cover or safety cover that fits securely over your pool.





Leave a Reply